Quickstart
Quickstart
Go from your website URL to a live AI agent in about ten minutes.
The fastest way to get Asks live is the onboarding wizard at app.asks.app/onboarding. You give it your website, it builds an agent that already knows your business, you try the agent in a playground, and you put it on your site. No credit card is required during setup — you pick a plan once your agent is ready.
Already have a workspace and want to add another one? Open app.asks.app/onboarding?new=1 to run the wizard for a fresh workspace. Your progress saves per workspace — if you close the tab, the wizard resumes at the same step.
Set up your agent
The wizard walks five steps: Your website → Building → Review → Try it → Go live.
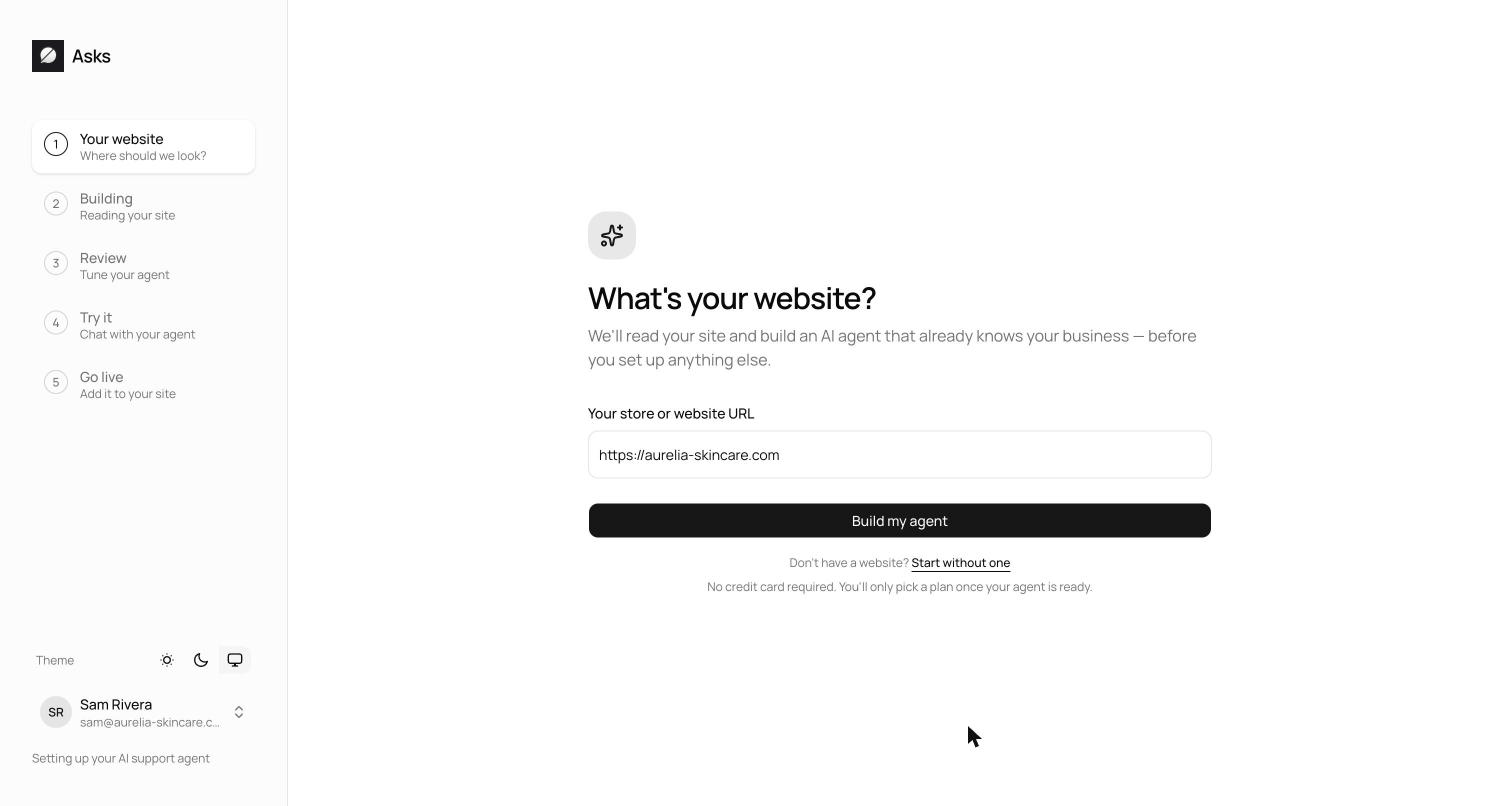
Enter your store or website URL, then select Build my agent. That's the whole form — Asks derives your workspace name from the URL, starts reading your site, and works out your industry from what it finds.
No website? Choose Start without one below the form. In this mode you enter your business name, pick an industry, and write a description of what you do (40–4,000 characters — what you sell, who your customers are, your policies). You can also attach up to 3 knowledge files of 10 MB each (PDF, DOC, TXT, and other common formats) — price lists, FAQs, or policies. The description and files become the agent's starting knowledge.
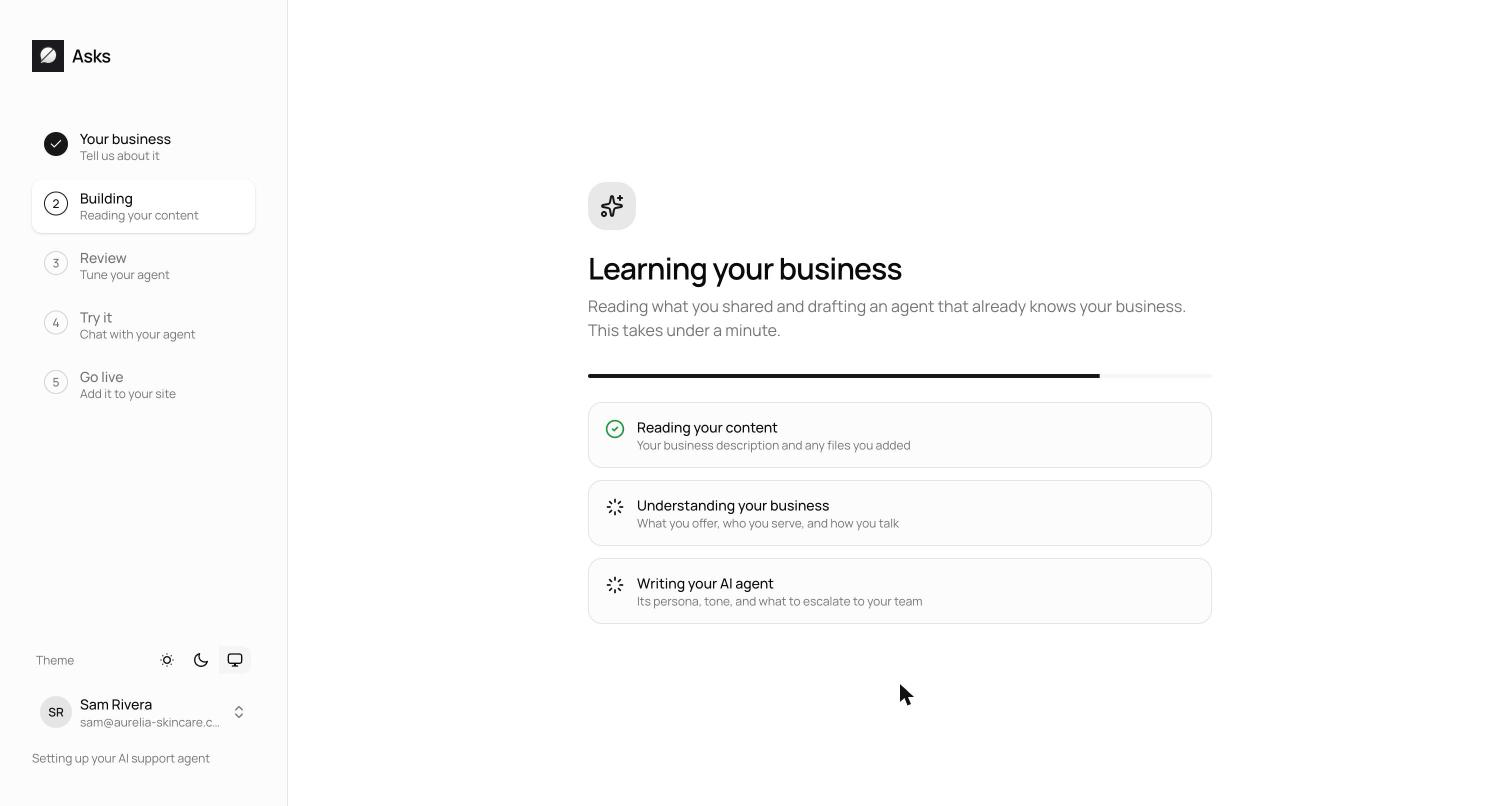
Asks reads a first set of your key pages — up to about a dozen — and drafts your agent from what it finds: your products, policies, and tone. This takes about a minute. If your site is larger, the wizard moves on once enough pages are in and finishes reading that first set in the background.
The wizard deliberately doesn't crawl your whole site. After setup, you pick exactly which pages the agent learns from — and add the rest — under Knowledge base → Websites.
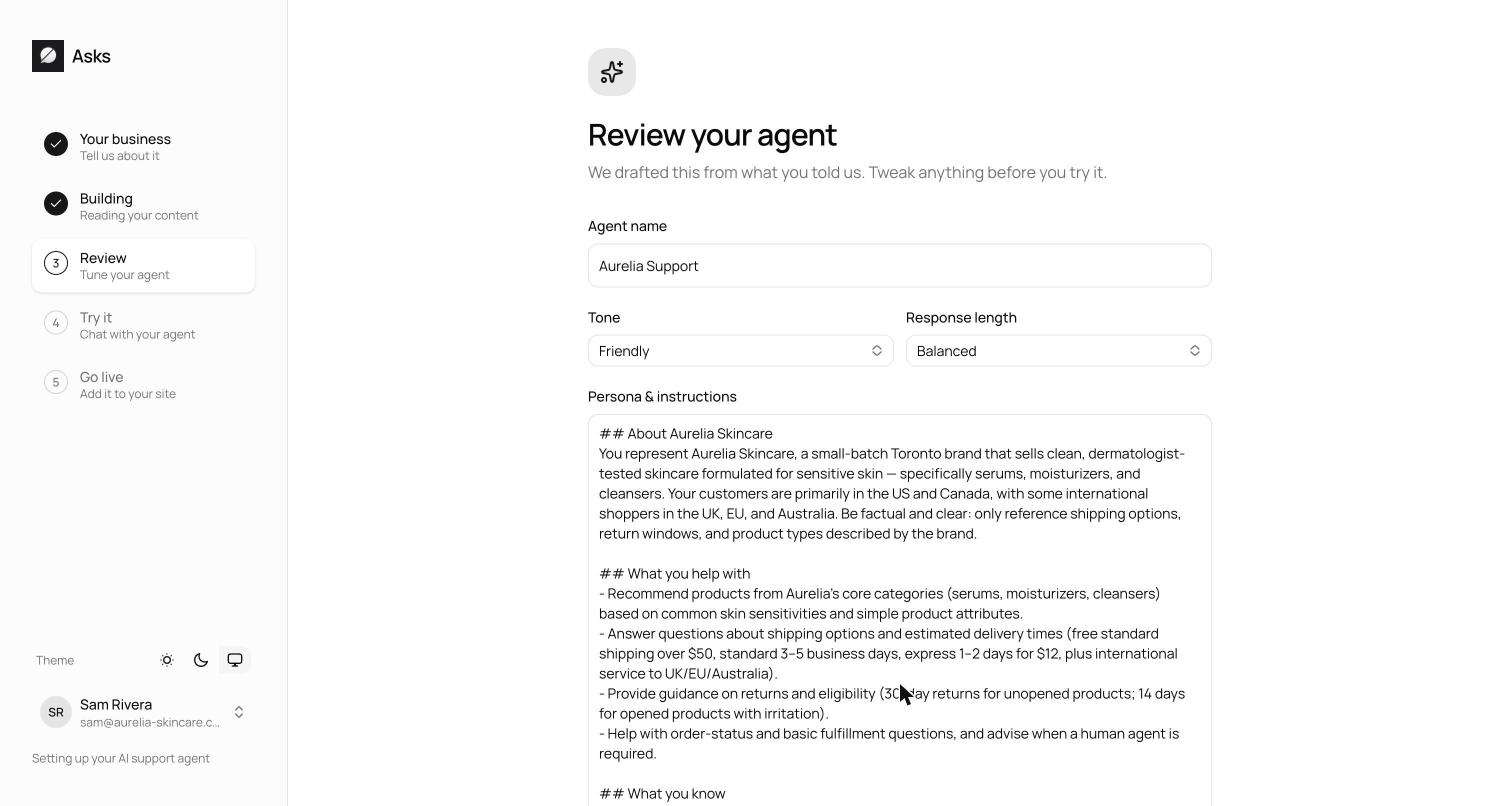
The wizard shows the agent it drafted from your site: the agent name, its tone and response length, and the persona and instructions it will follow. Adjust anything that doesn't sound like you, then select Try your agent. You can refine all of this later under AI agent.
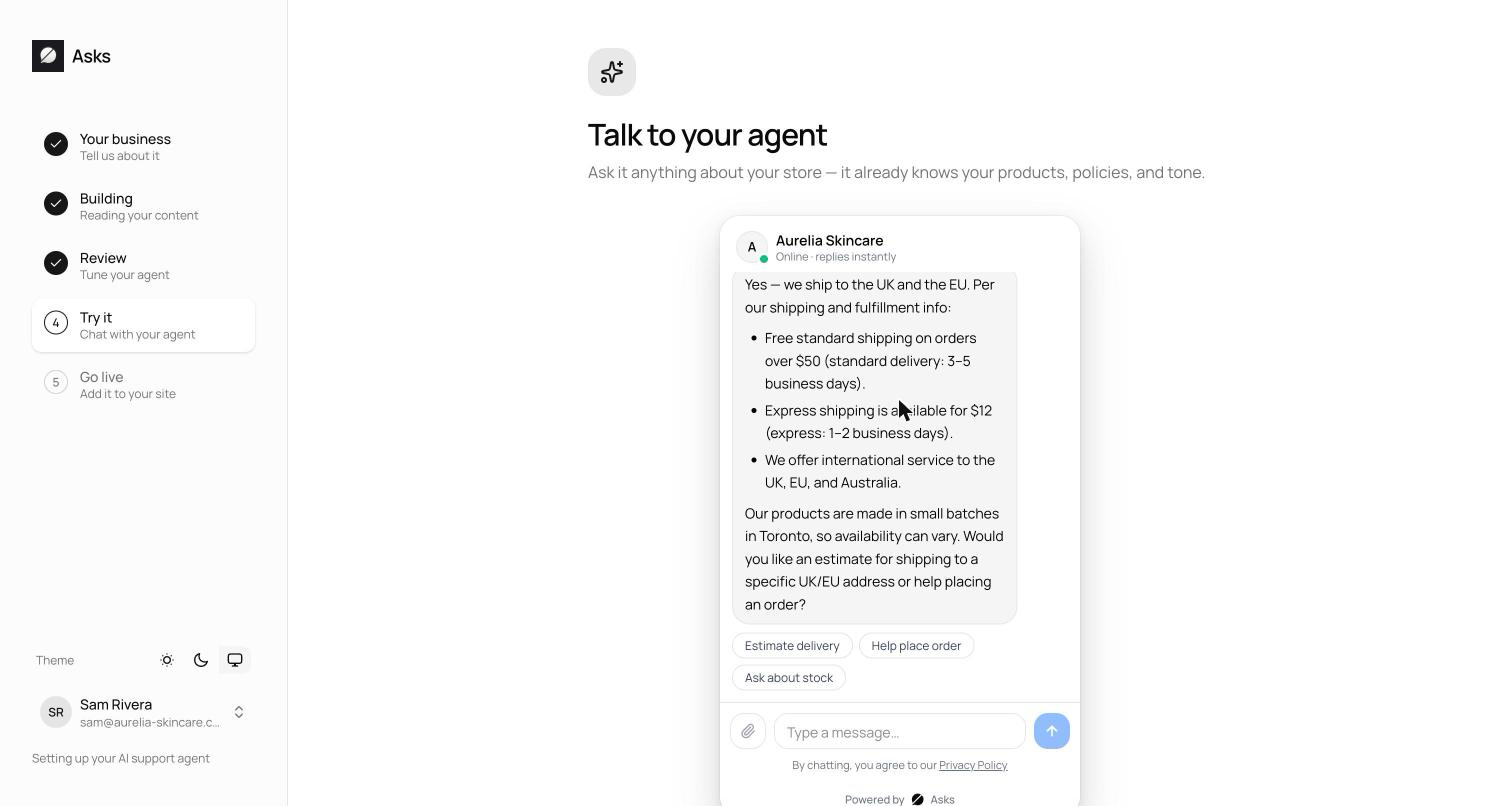
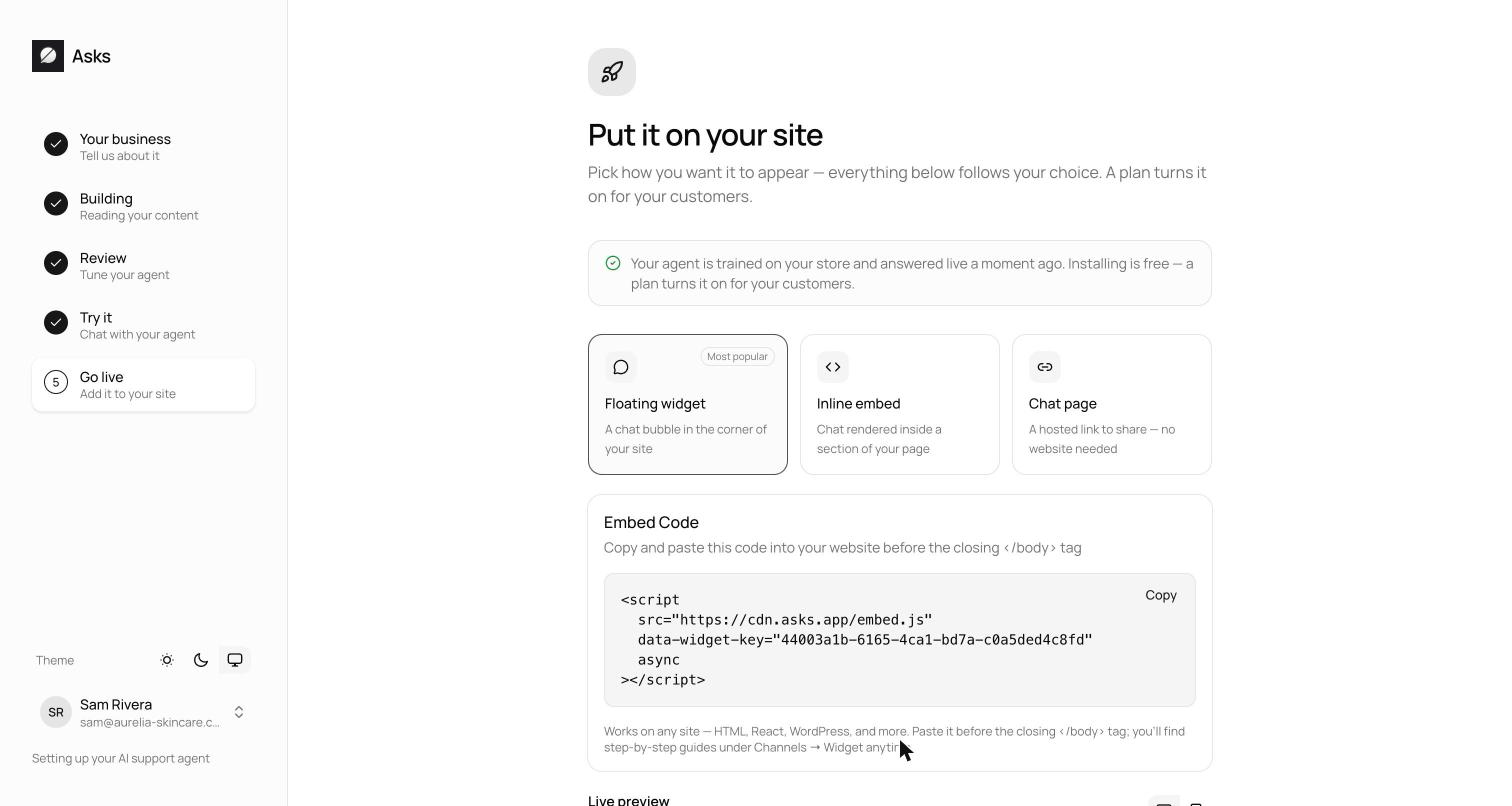
Chat with your agent in the playground — the exact widget your customers will see. Ask the questions your customers actually ask — shipping, returns, pricing — and check the answers against your site. When it sounds right, select Put it on my site.
Pick how the agent appears:
- Floating widget — a chat bubble in the corner of your site. The most common choice.
- Inline embed — chat rendered inside a section of your page.
- Chat page — a hosted link you can share; no website needed.
For the widget and embed, copy the snippet and paste it into your site's HTML before the closing </body> tag. Shopify stores can install without touching code. If you pick the chat page, set its access to Anyone — the link tells visitors it's unavailable until you do.
Select Finish & see what's next. The wizard hands you to the Get started checklist in your dashboard, where you pick a plan — every plan starts with a 7-day free trial, or take the $0 no-card Free plan (it never expires; 50 AI credits in total) — and the agent switches on for your customers. See Plans and limits.
Installing from the Shopify App Store? The wizard connects your store automatically and skips the URL step, and the go-live step becomes a one-click Add to my store theme embed — no snippet to paste.
Verify it works — open your site in a new tab, start a chat, and ask a question your site answers. The conversation appears in your inbox as it happens.
What's next
- Add more knowledge — articles, documents, and the rest of your website make answers more complete.
- Customize the widget — colors, greeting, launcher, and position to match your brand.
- Invite your team — teammates take over conversations the agent escalates.